Acrylic pouring is a fluid painting technique that creates mesmerizing effects through the interaction of different paints. Silicone oil plays a key role in producing the popular “cells” effect in your pours. This guide will show you how to use silicone oil and the best materials to achieve stunning results.
What Causes Cells in Acrylic Pouring?
Cells form due to differences in density between paint colors. When these densities vary, the paint separates, creating unique, organic shapes called cells. Silicone oil helps enhance this separation by creating barriers between layers.
How Does Silicone Oil Work?
Since oil and water don’t mix, adding silicone oil to water-based acrylic paint causes the paint layers to separate. This separation results in the formation of cells when the paint spreads on your canvas.
Steps to Create an Acrylic Pour Painting
1. Choose Your Acrylic Paint
Use fluid acrylics like Golden Fluid Acrylics (no thinning needed) or thin heavier body paints like Pebeo Studio Acrylics or Golden Heavy Body Acrylics by adding water. Pour each color into separate measuring cups or silicone measuring cups.


2. Add Pouring Medium
Pouring medium helps your acrylic paint flow smoothly without cracking or losing color vibrancy. Popular brands include:
-
Pebeo: A versatile medium that improves flow and adhesion, with a slightly thicker consistency.
-
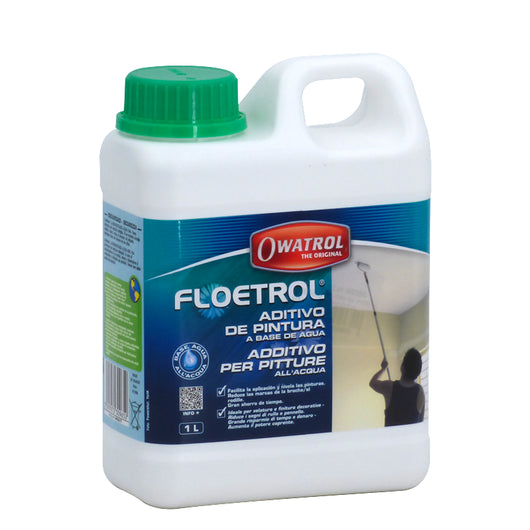
Floetrol: Originally a paint conditioner for house paint, it’s widely used for acrylic pouring due to its excellent leveling properties and glossy finish. It’s more fluid and easy to work with.
-
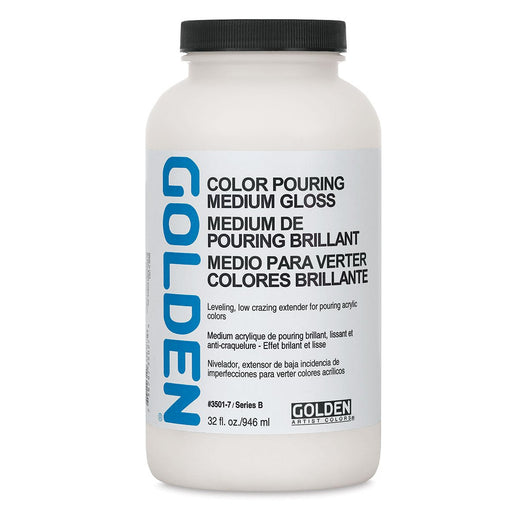
Golden Acrylic Pouring Medium Gloss: A high-quality medium designed specifically for pouring, offering great flow, leveling, and a durable glossy finish.
Each medium affects the flow and finish differently, so it’s worth experimenting to find your preferred brand and consistency. Aim for roughly 1 part acrylic paint to 1.5 parts pouring medium, and mix well.

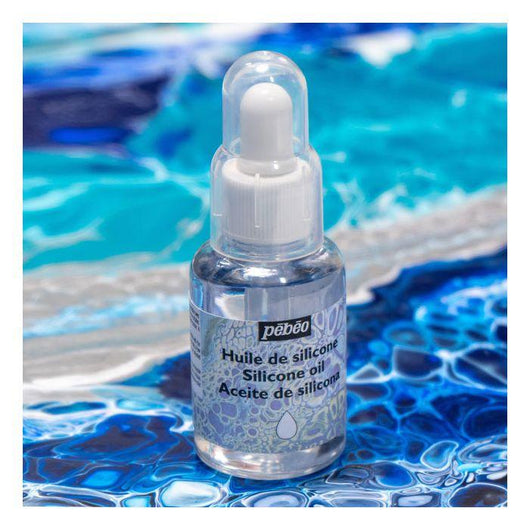
3. Add Silicone Oil
Add 2–3 drops of silicone oil per 15 ml of paint to some colors—preferably the base color. Stir gently to avoid breaking the oil droplets.
4. Pour Your Paint
Try the “dirty pour” technique: layer all colors into one cup without mixing, then pour onto your canvas. Tilt the canvas to spread the paint evenly.
5. Apply Heat
Use a heat gun or torch to gently heat the surface. Avoid hairdryers as the strong airflow can disrupt the paint. Heating helps the silicone oil react, causing cells to appear.


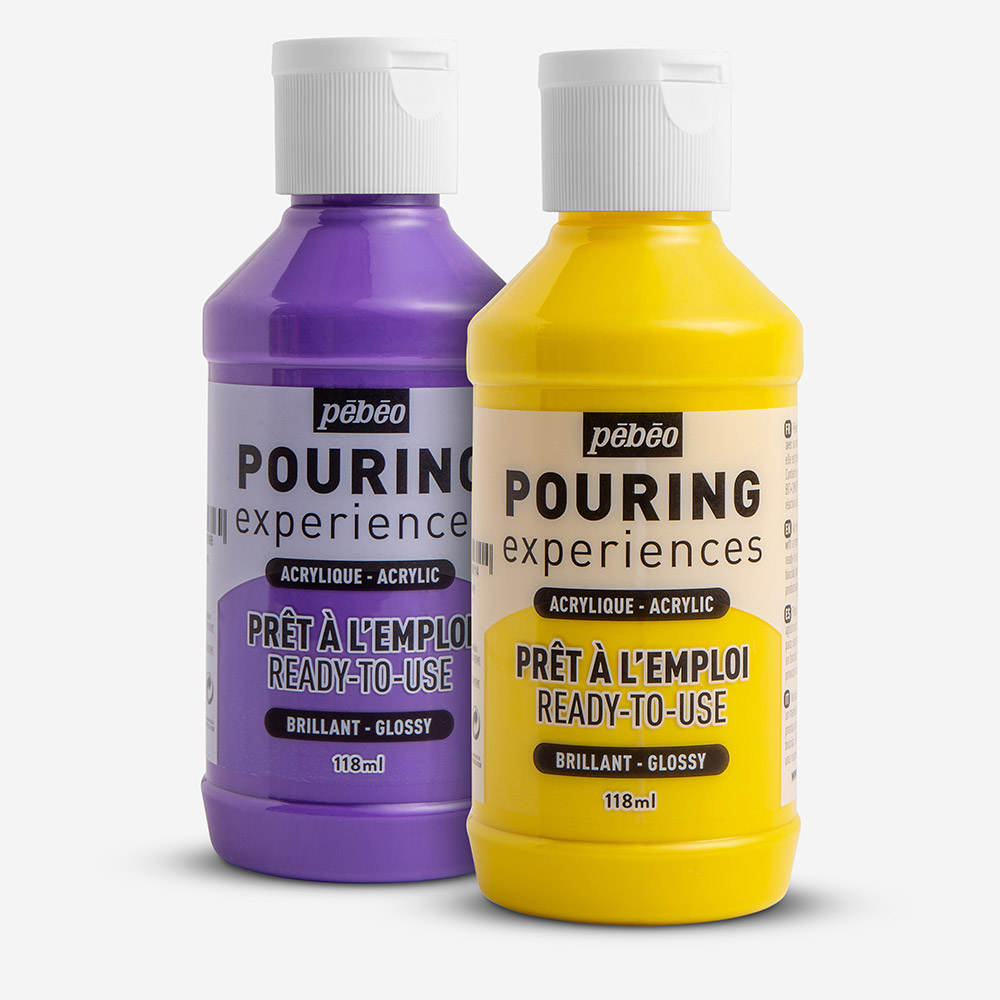
Pebeo Ready-to-Pour Acrylics: A Beginner’s Choice
Pebeo Ready-to-Pour Acrylics come pre-mixed with pouring medium, making them ideal for beginners. They offer consistent flow and vibrant colors straight from the bottle—no mixing needed.
-
Easy to use: Pour directly onto your canvas or into cups for various pouring techniques.
-
Great for cells: Add a few drops of Pebeo Silicone Oil for enhanced cell effects.
-
Fast drying: Dries within 24 hours for quicker results.
Experimenting with silicone oil in acrylic pouring can lead to stunning, unique artworks. By understanding the science behind cell formation and using quality materials like Pebeo Ready-to-Pour Acrylics, you can create beautiful, professional-looking pieces with ease. Happy pouring!