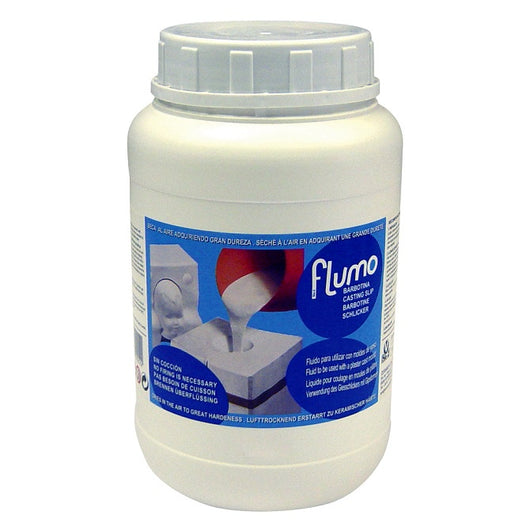
Self-Hardening Casting Slip
Flumo
Regular price
€18.95
Sale
Sio-2 FLUMO is an air-drying casting slip that achieves great hardness. It is used exclusively with plaster moulds for the traditional slip casting process, getting a high quality figure with a similar strength to the fired ceramics. It is a very suitable material for crafts, especially for dolls and miniature makers.
In liquid, the product can be dyed with any conventional water soluble pigment or dye. Once dry, it can be painted or varnished with any type of paint or varnish. It can also be polished, carved or drilled.
Confirms to European EN-71 and USA (AP Non-toxic product) regulations. Does not contain food allergens.
How to Use
- Slip Preparation: When opening the container, do not discard the most liquid part of the surface. Before using, stir well until smooth, taking care not to incorporate air into the mixture (bubbles). Let it rest for a few minutes to favor the evacuation of bubbles that could damage the finish of the piece. If necessary, add only DISTILLED WATER. The addition of running water could modify the rheology (viscosity) of the slip.
- Filling the mould: Use plaster cast moulds only. Before filling, make sure that the mould is dust free and dry. Pour the product WITHOUT STOPPING on the side of the mouth of the mould and let it slide down the inside. Thus, the formation of bubbles will be avoided. Wait between 10 and 20 minutes before emptying the mold. The waiting time depends on the size of the mold and the desired thickness. If you want a thicker piece, let it sit longer and fill the mold when the level drops.
- Emptying the mould: Lightly tap the mould before emptying. Note that the product increases its fluidity. Empty the mould leaving it to drain well. Keep the surplus covered in its original container for other uses.
- Demoulding: Open the mould after 1 hour. Wait longer for large parts.
Before reusing the mould, clean off any product residue and let it dry completely. - Drying: DOES NOT NEED FIRING. Once the piece is removed from the mould, let it dry at room temperature for 2 to 5 days. It will acquire great hardness and resistance. It is recommended to remove the flashes before the piece dries completely. If you wish to obtain a FASTER DRYING and greater hardness and resistance, when removing the piece from the mould, place it in a domestic oven between 100 and 120ºC for 60 minutes.
- Finishing and Decoration: Once dry, the object can be polished, carved or drilled prior to decoration. The object can be decorated with any type of paint, pencil or marker. It can also be varnished. The use of varnish also guarantees greater durability of the object and improves ease of cleaning.
ATTENTION: FLUMO is not waterproof. It is not recommended to make objects that must contain water even if it is protected with a waterproofing agent.
